Setting up xVPN connection on Windows 11
This instruction is also suitable for Windows 7, 8, 10
Download Nekoray app from Github.
Select the latest version and click Assets. Download the zip file, for example, nekoray-3.26-2023-12-09-windows64.zip
https://github.com/MatsuriDayo/nekoray/releases
For the Nekoray application to work correctly, also install both Visual C++ packages from the official Microsoft website.
https://aka.ms/vs/17/release/vc_redist.x86.exe
https://aka.ms/vs/17/release/vc_redist.x64.exe
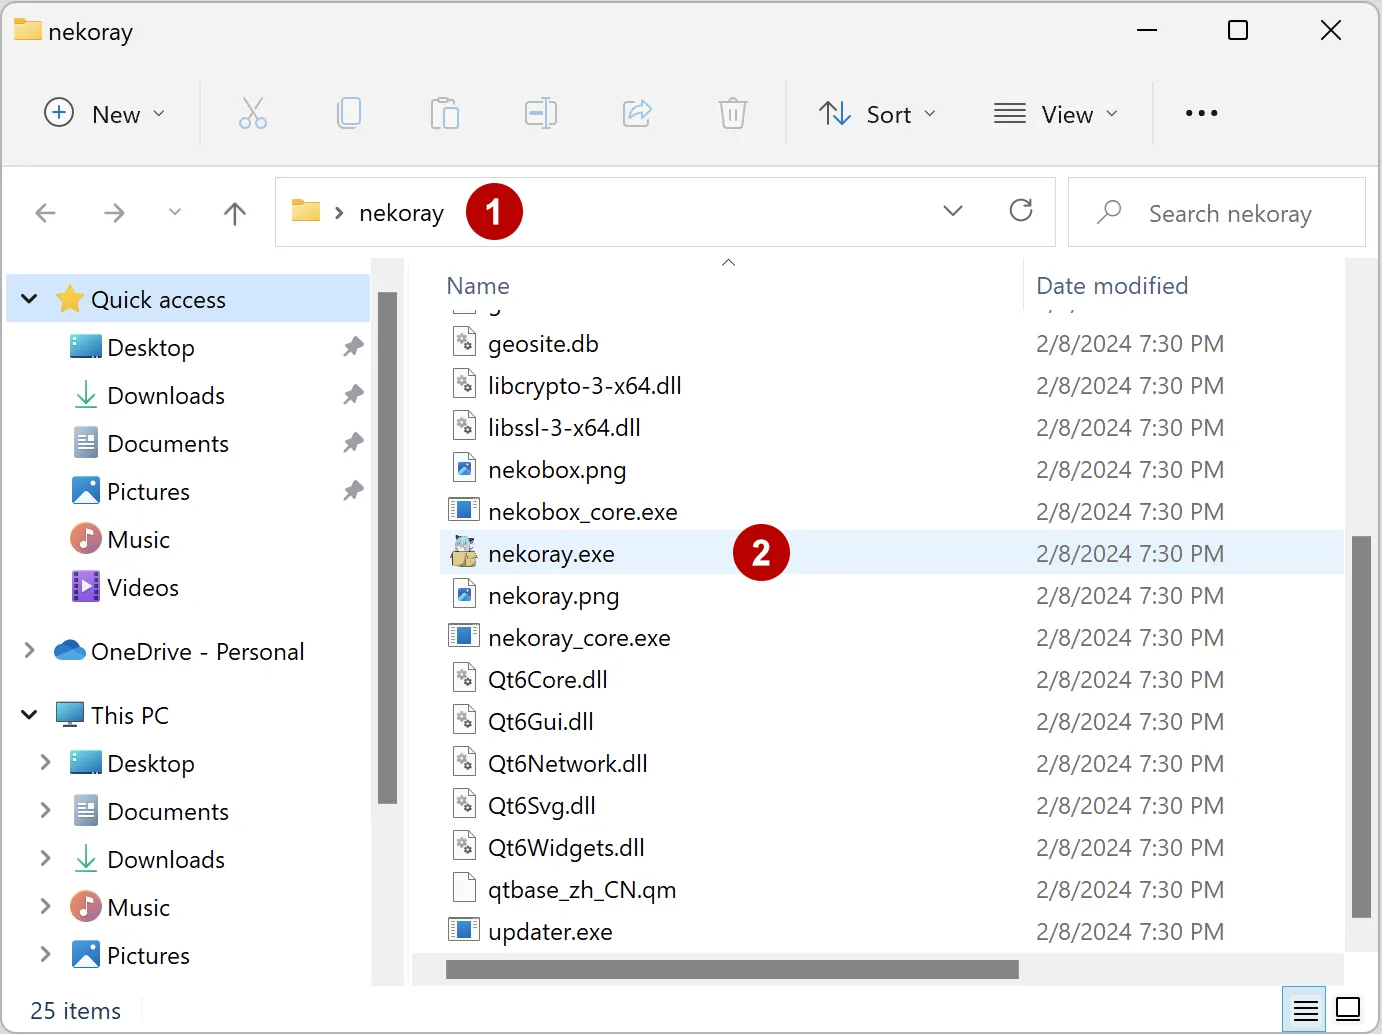
Unpack the nekoray-3.26-2023-12-09-windows64.zip archive and run the application.
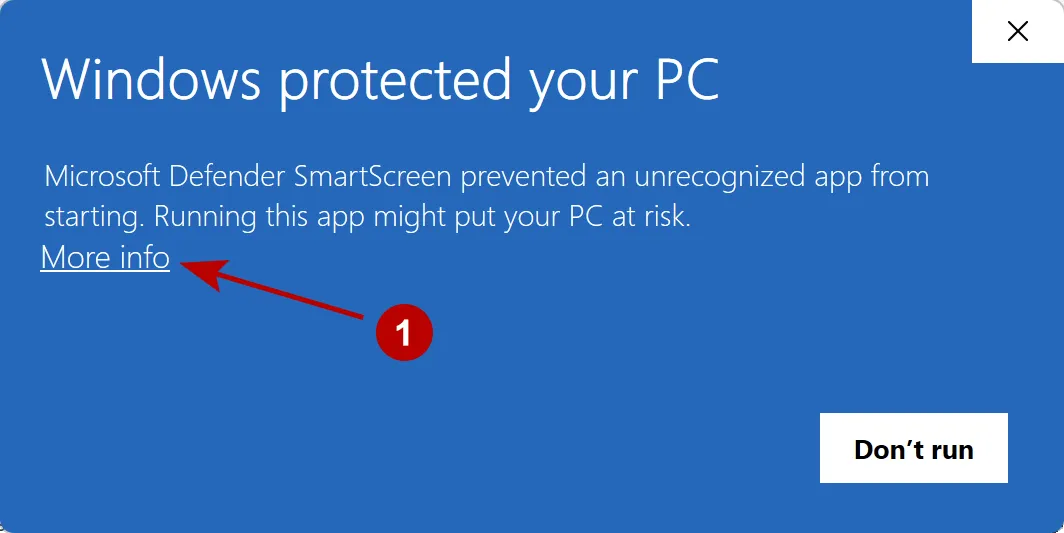
Allow the application to run.

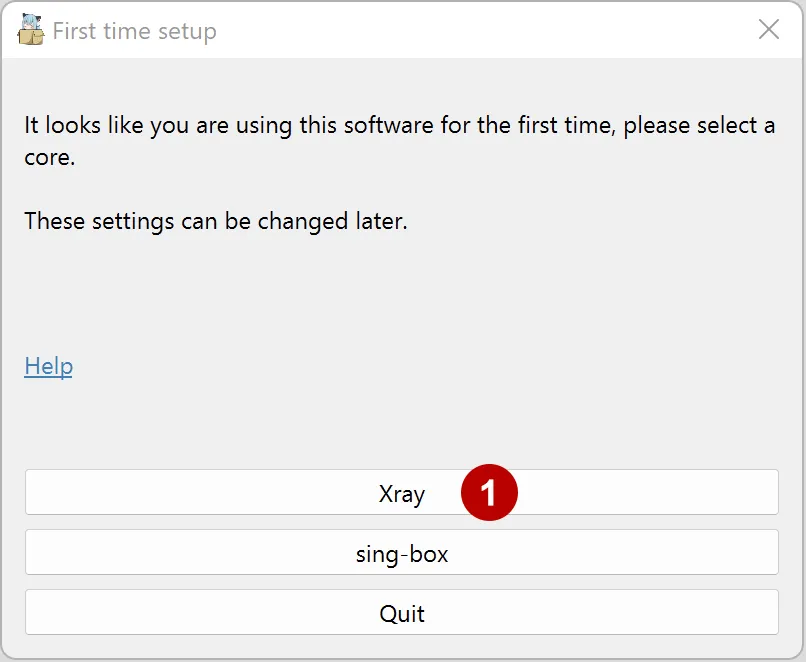
Select xray kernel.
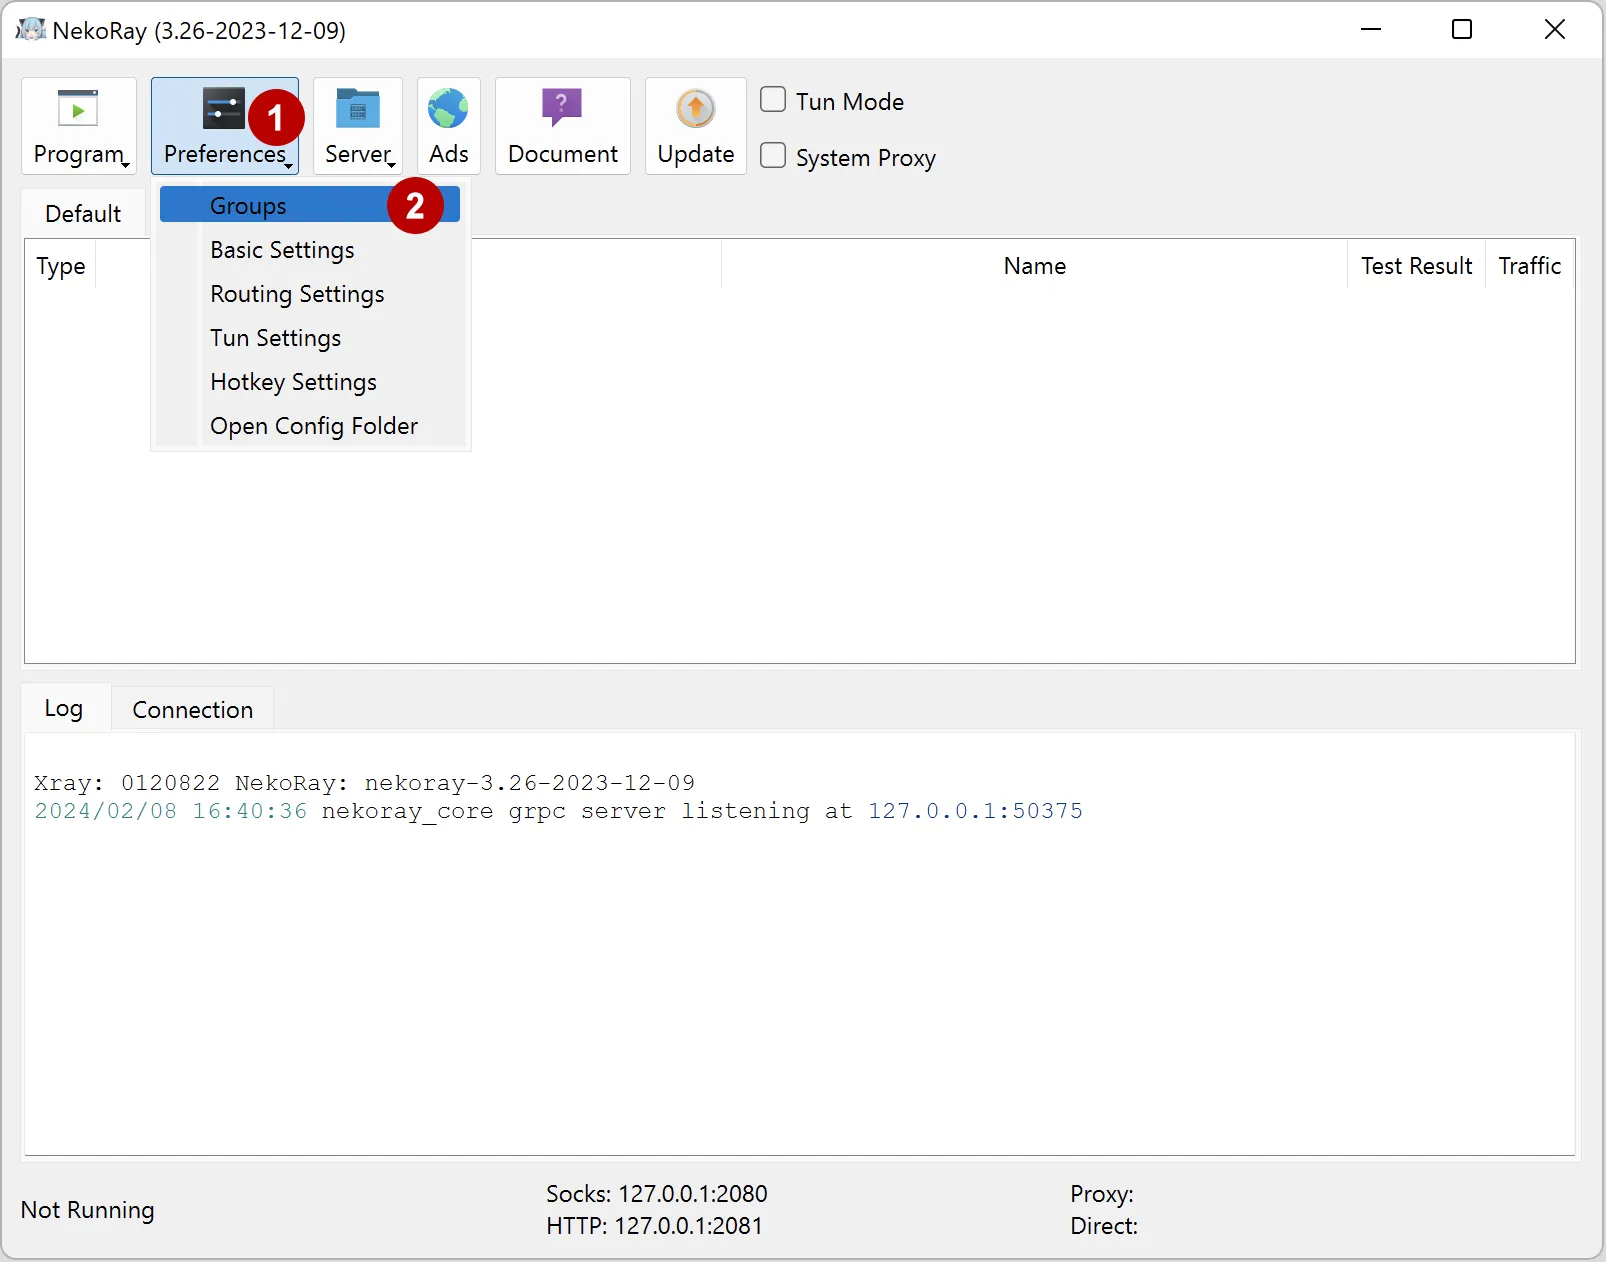
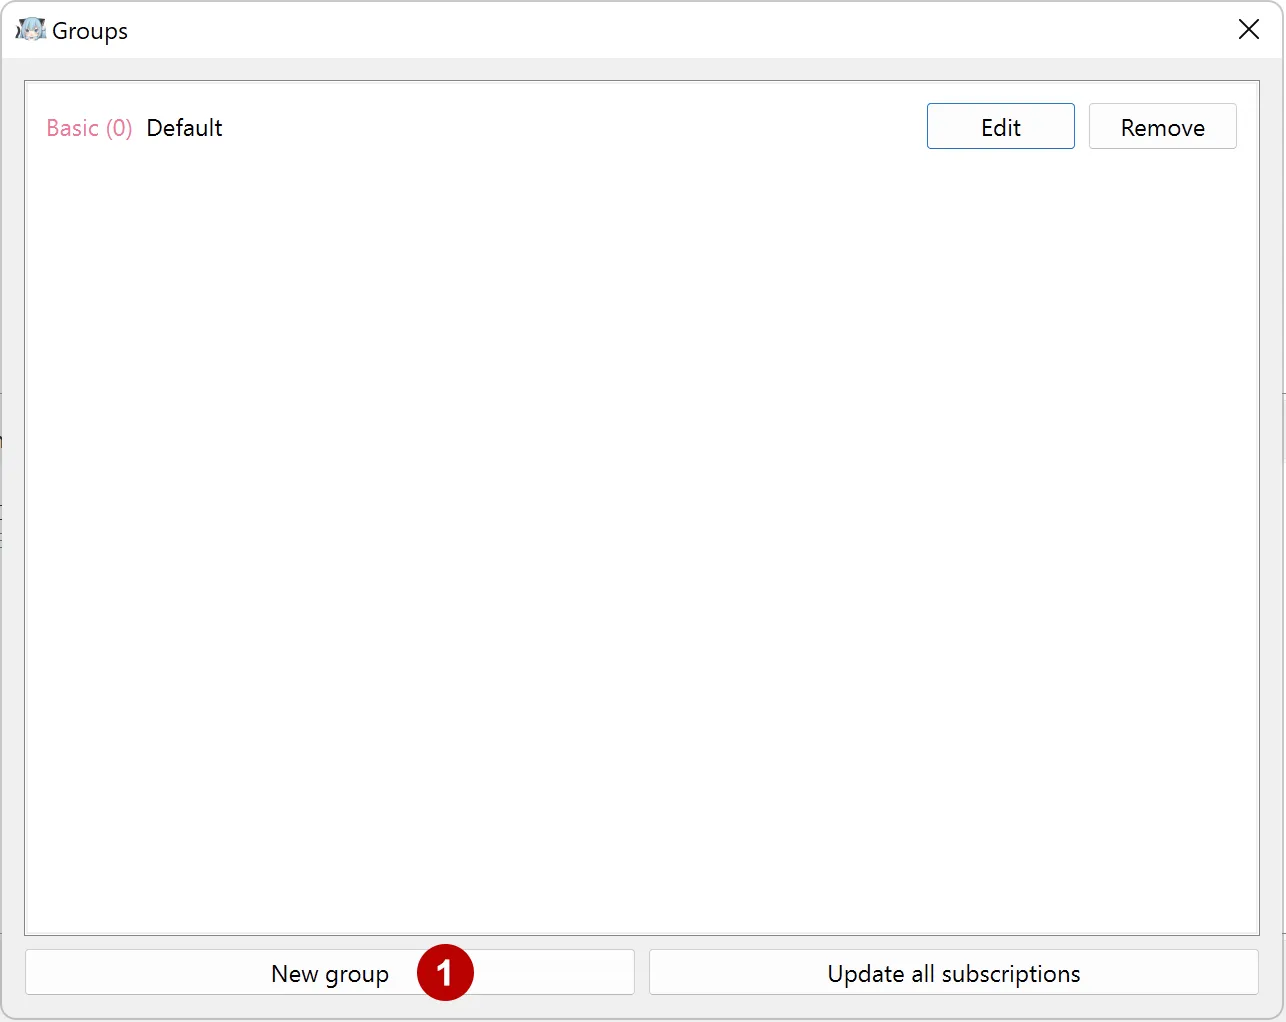
Add a new xVPN subscription.
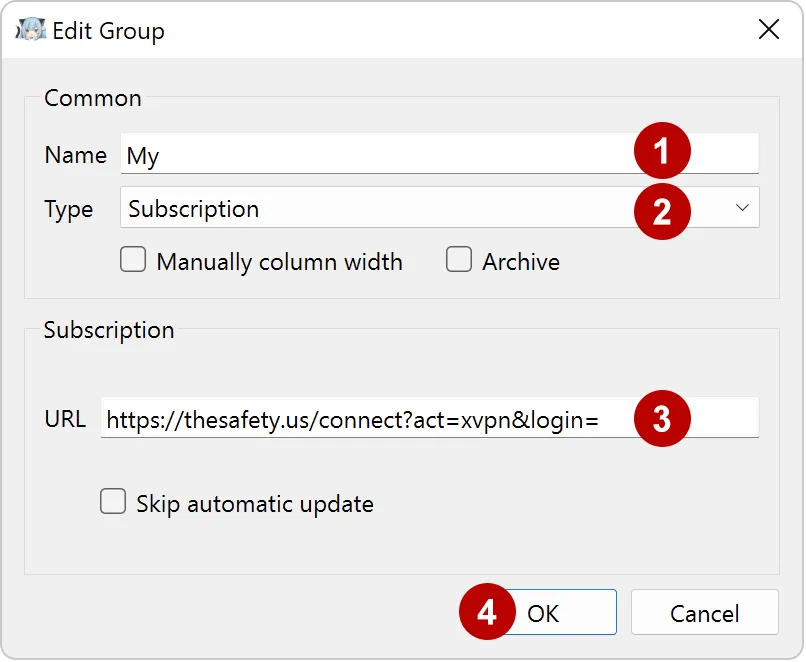
Enter any name, Subscriptions type. In the URL field, copy the link to xVPN subscription from the section Subscriptions
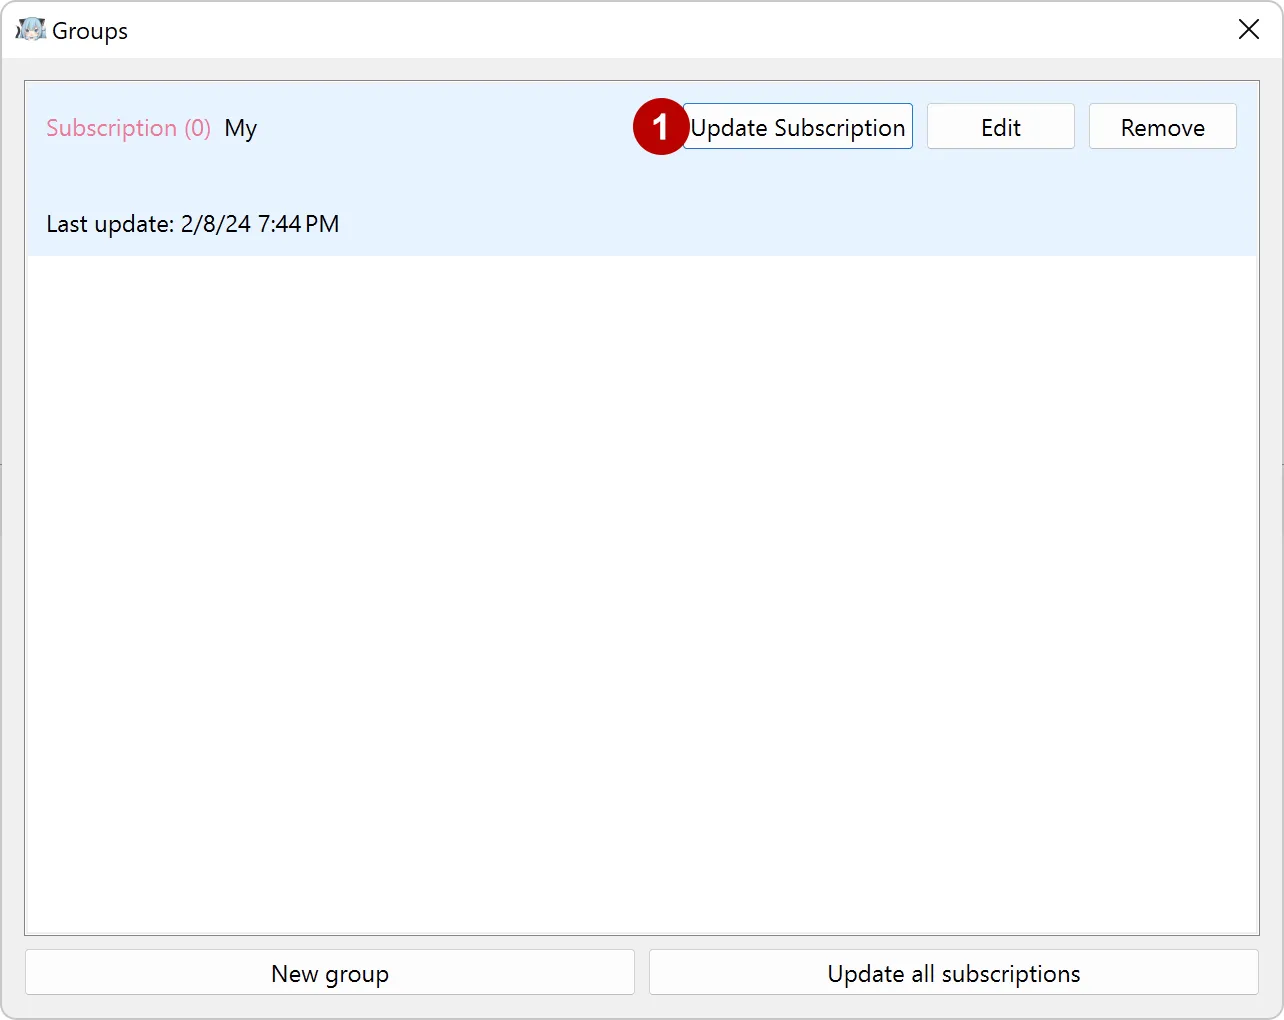
If necessary, you can update the list of connections.
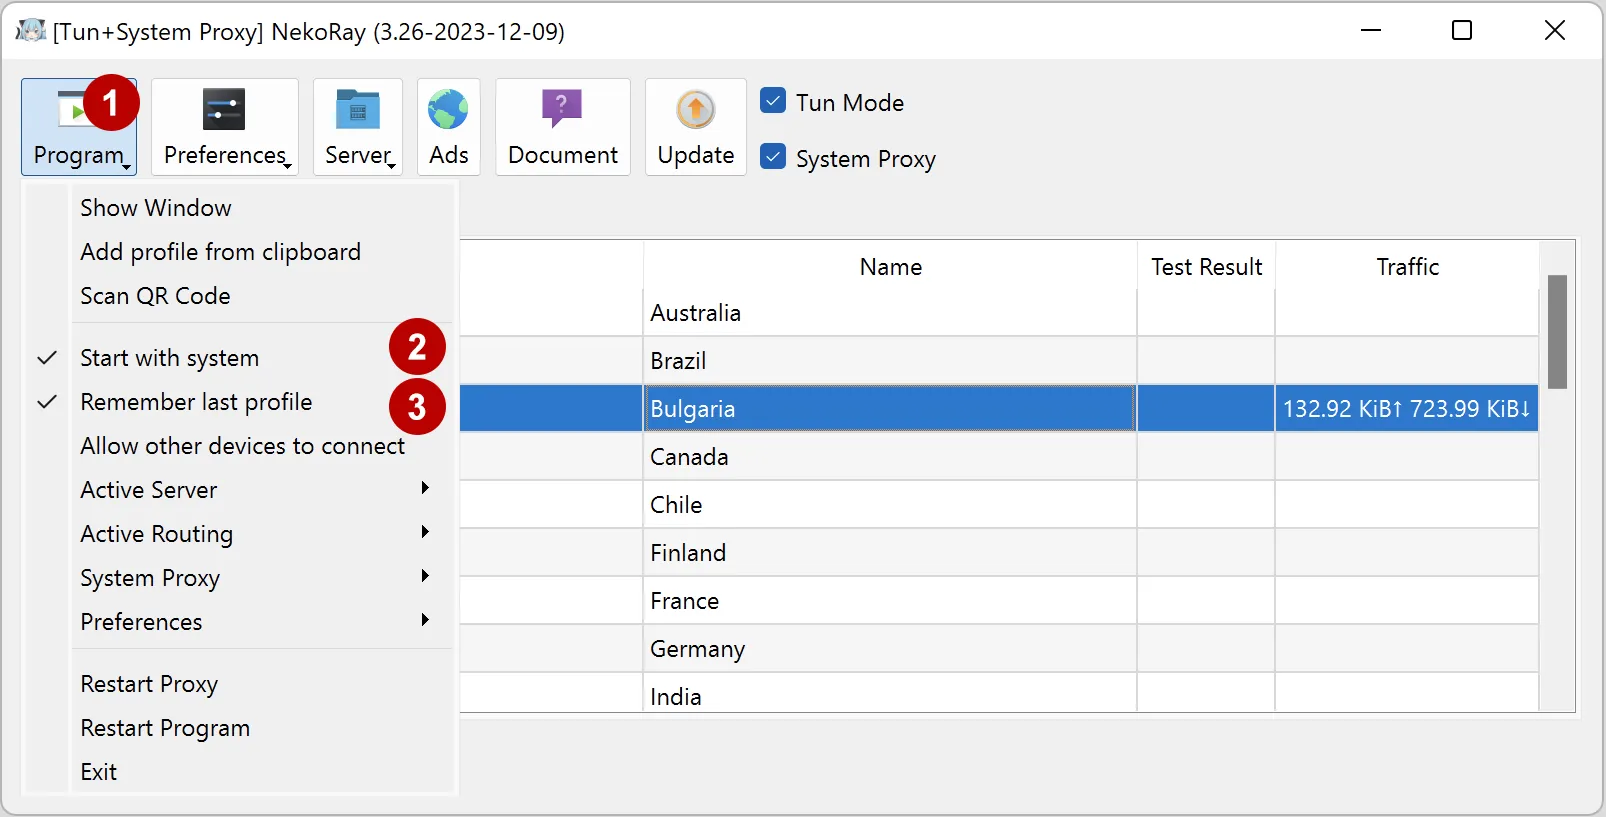
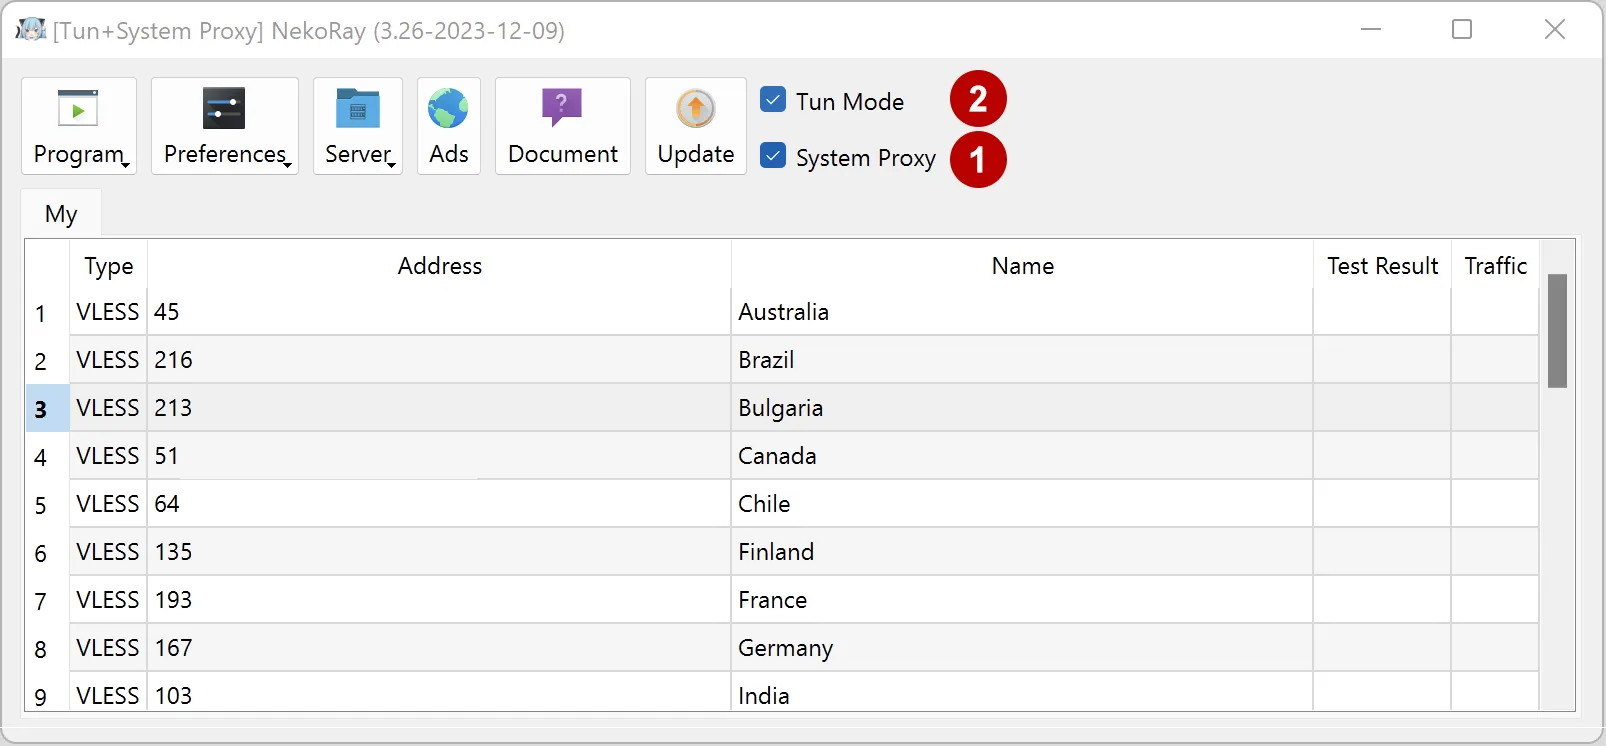
Mark System proxy and Tun mode.
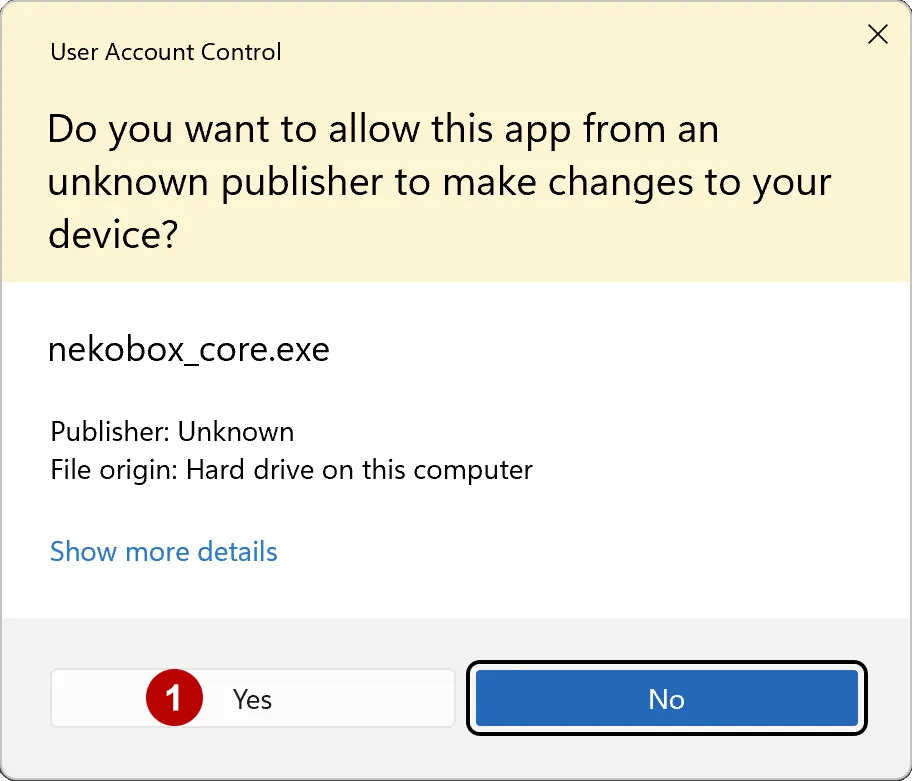
Confirm Nekoray core launch.
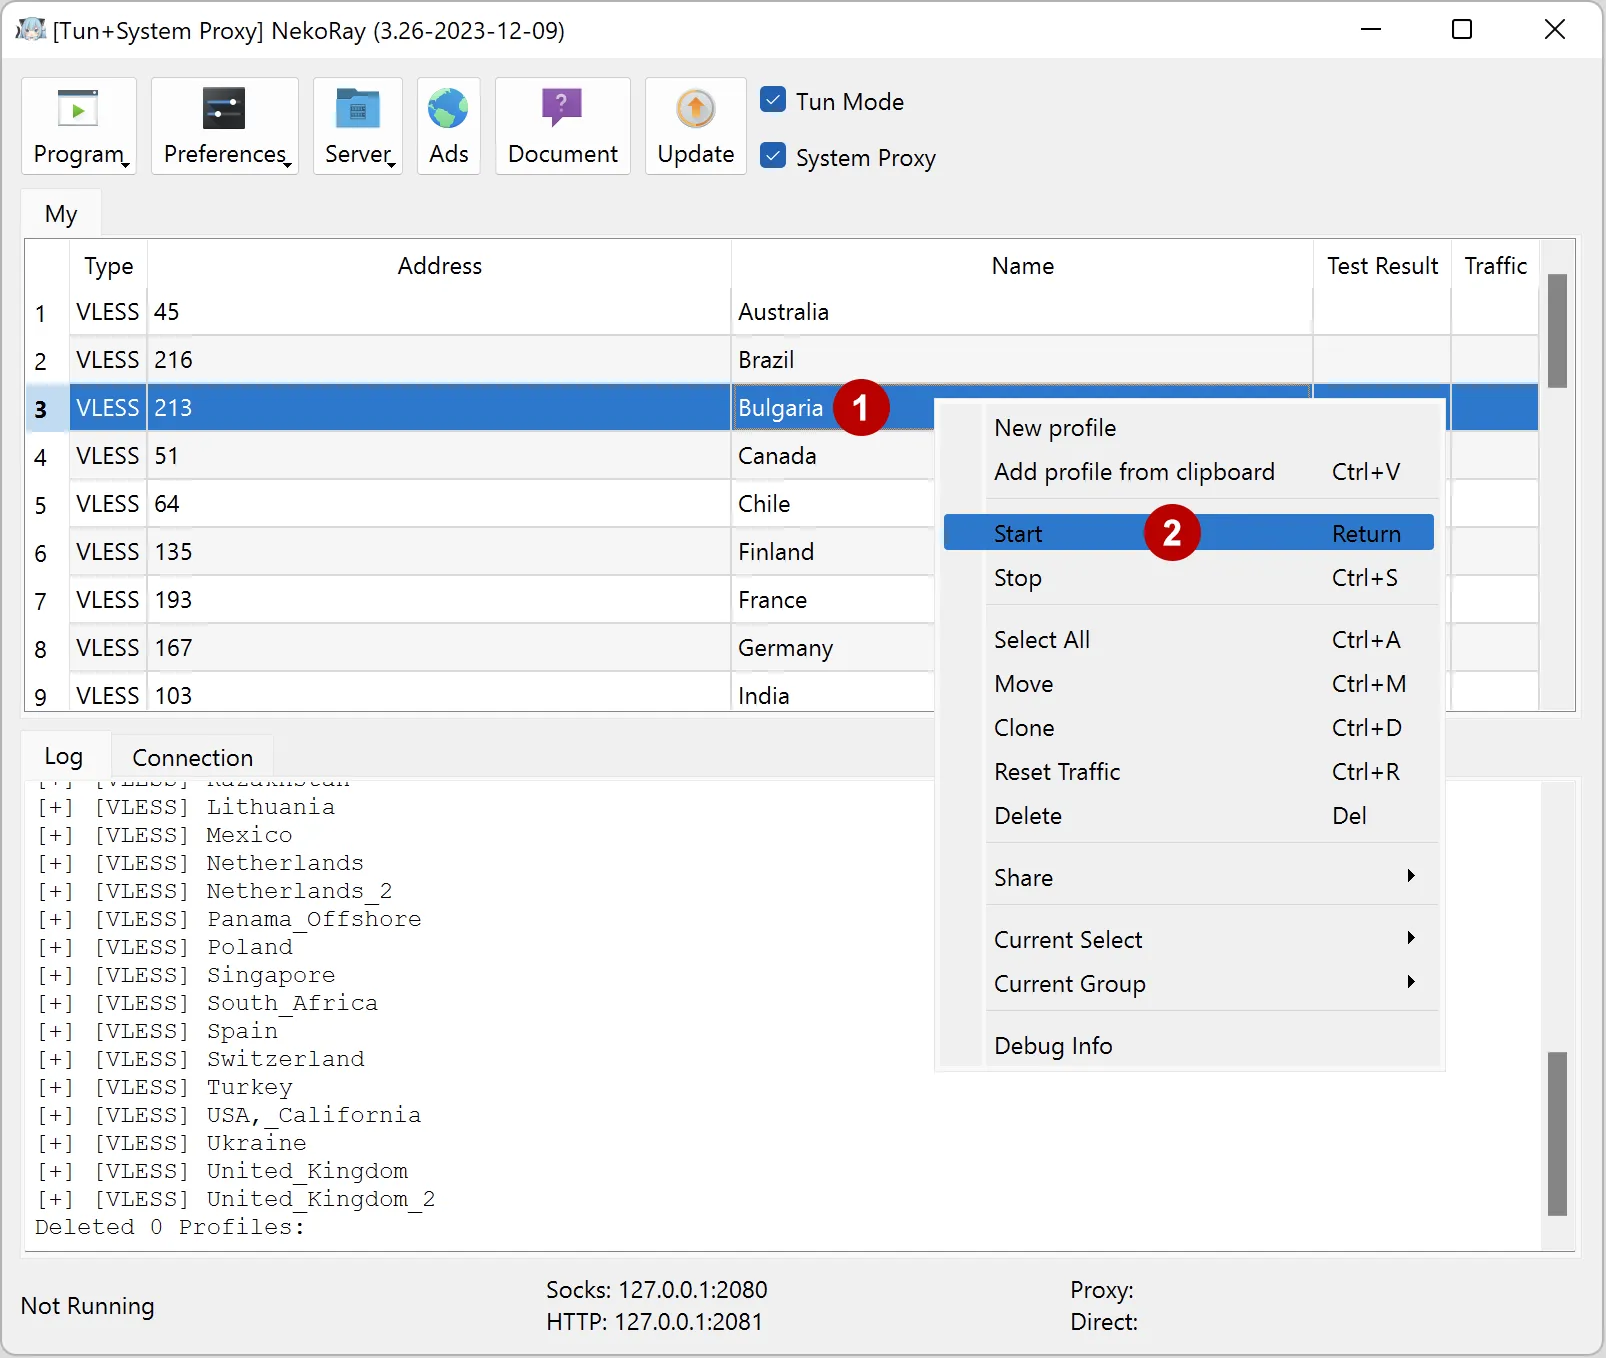
Connect to a VPN. Right-click on the connection and select Start.
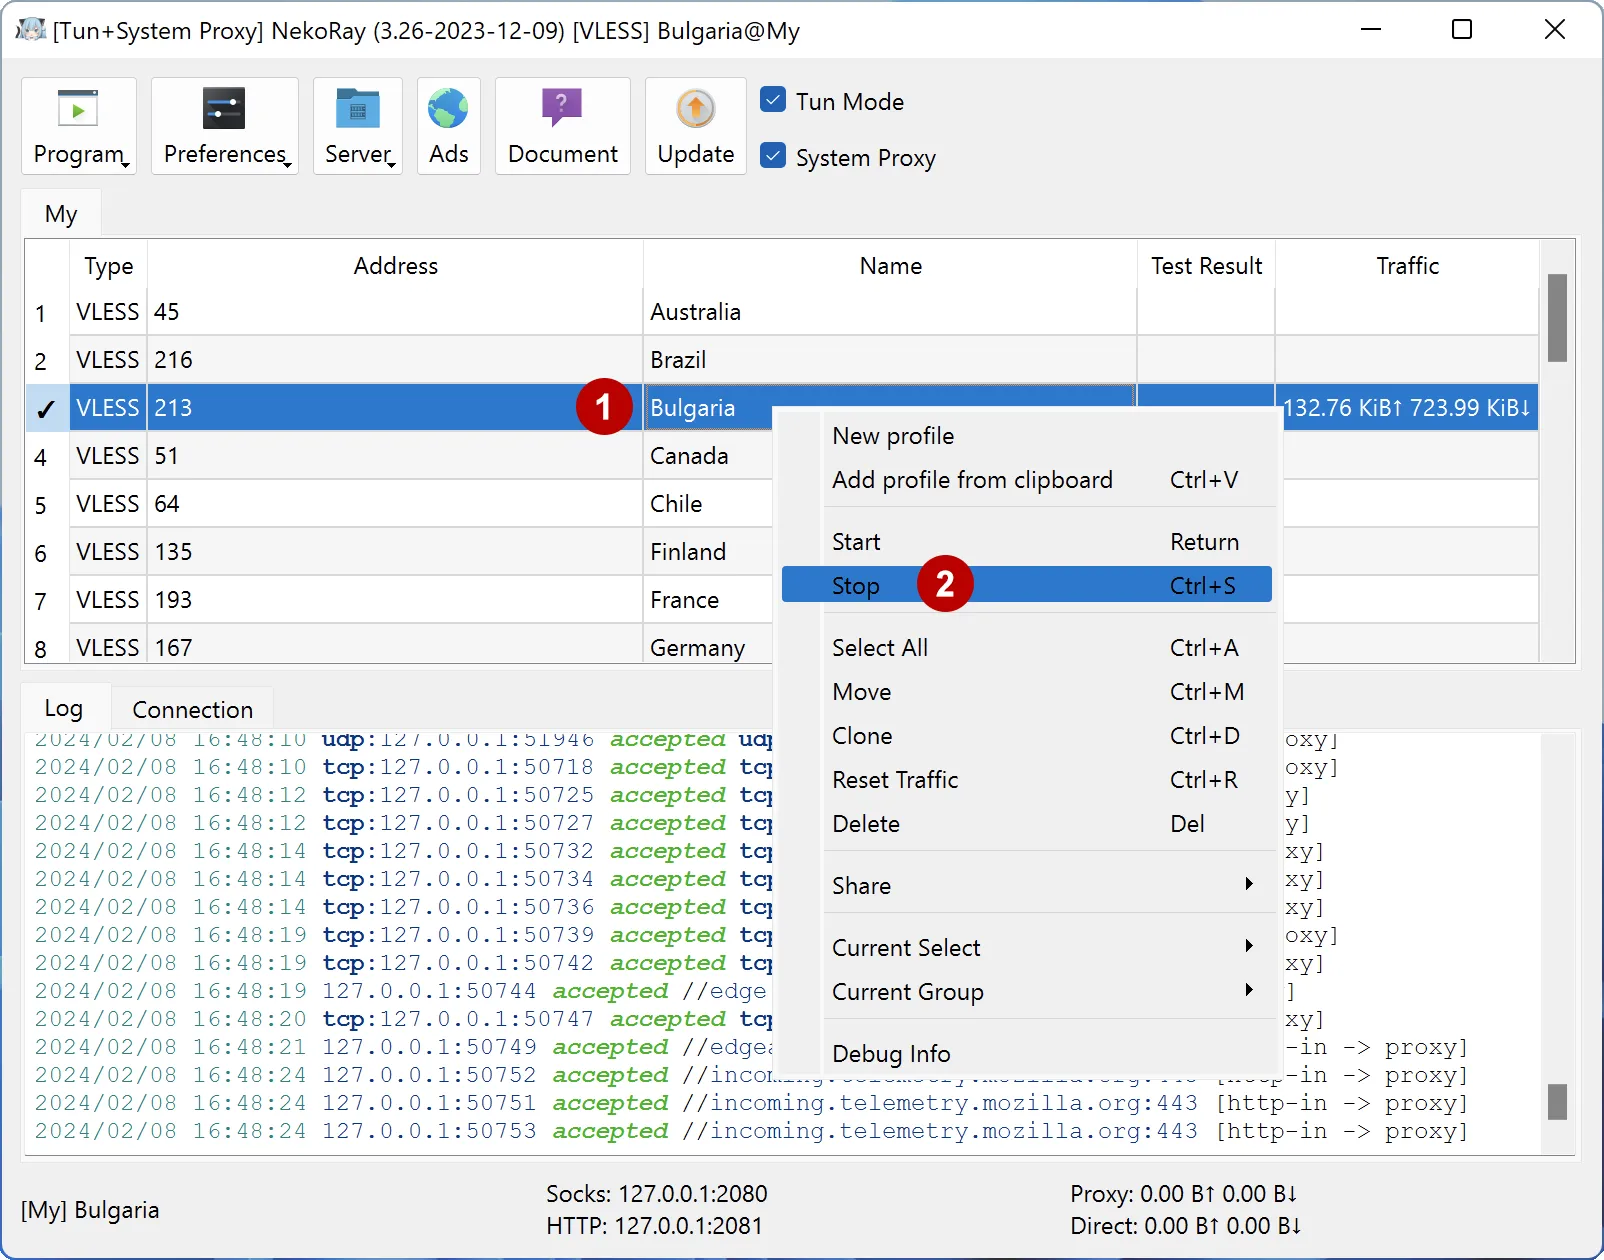
Similarly, you can disconnect from xVPN connection.
Additional settings.