How to set up IKEv2 VPN connection on Ubuntu 17
How to set up IKEv2 VPN connection on Ubuntu 21
This manual is only for Ubuntu 17 operating system.
Ubuntu 16 contains obsolete packages that do not work correctly.
We recommend setup OpenVPN connection on Ubuntu 16.
Go to All Programs.

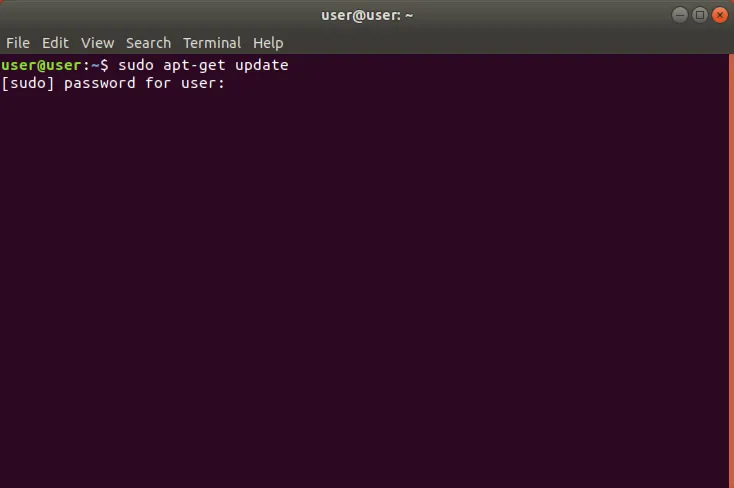
Enter into the search: terminal and run the Terminal.

Enter the command. You may need to enter a password.
sudo apt-get update
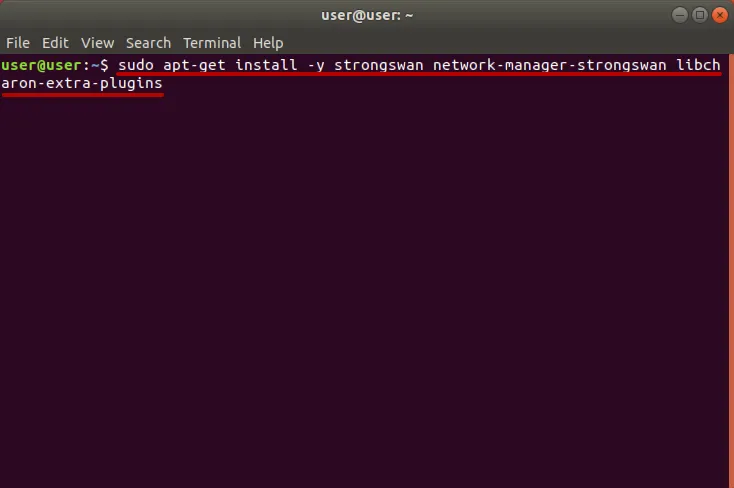
Run the following command to install the applications.
sudo apt-get install -y strongswan network-manager-strongswan libcharon-extra-plugins
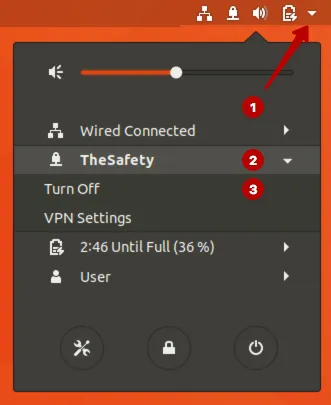
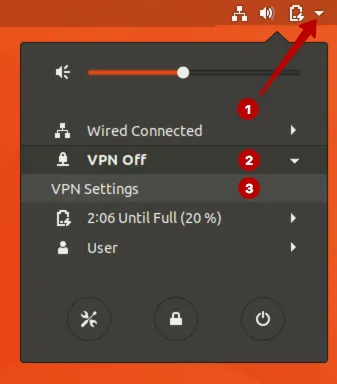
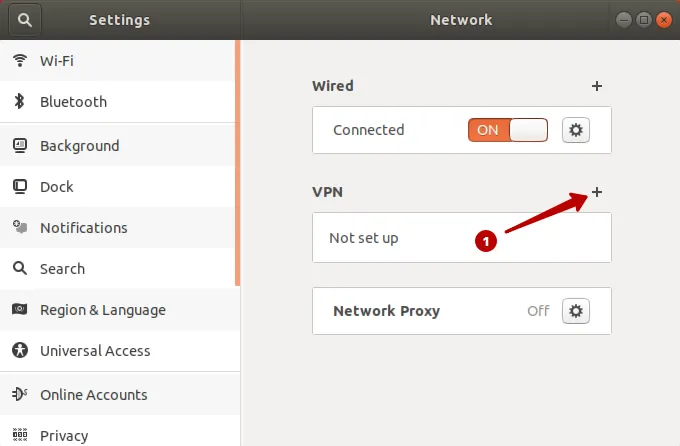
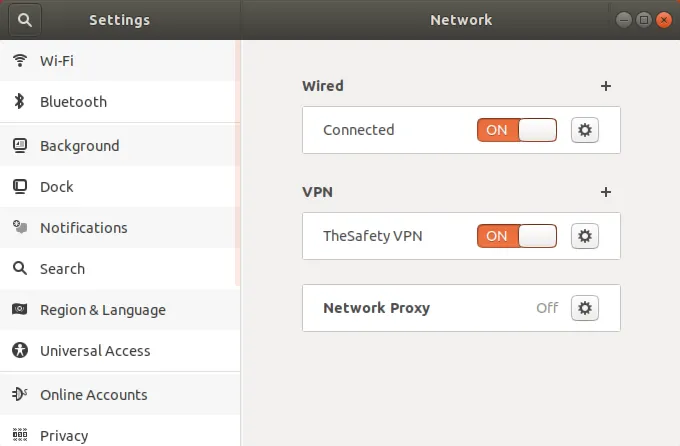
Go to VPN Settings.
Click to sign +.
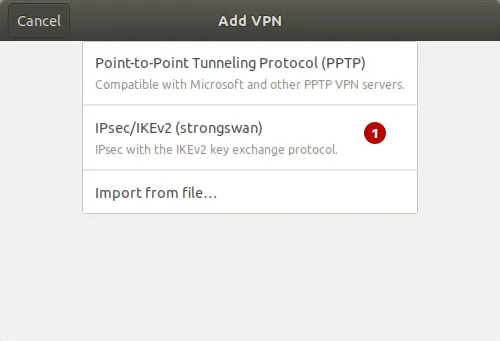
Choose IPSec/IKEv2 (strongswan).
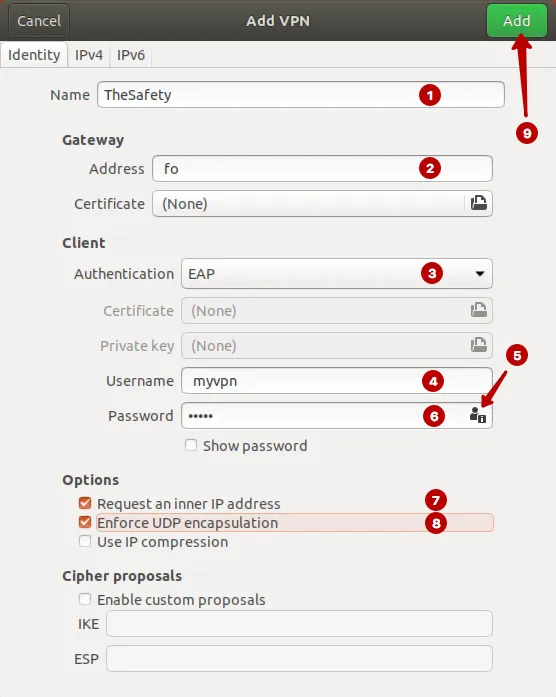
In the Subscriptions section, choose domain for IKEv2 VPN and look for Username and Password VPN.

Follow these steps:
- Write any connection name
- Domain of IKEv2 VPN server from My Account page
- Authentication EAP
- Username VPN
- Click on the user icon to save the password
- Password VPN
- Mark checkbox
- Mark checkbox
- Click Add
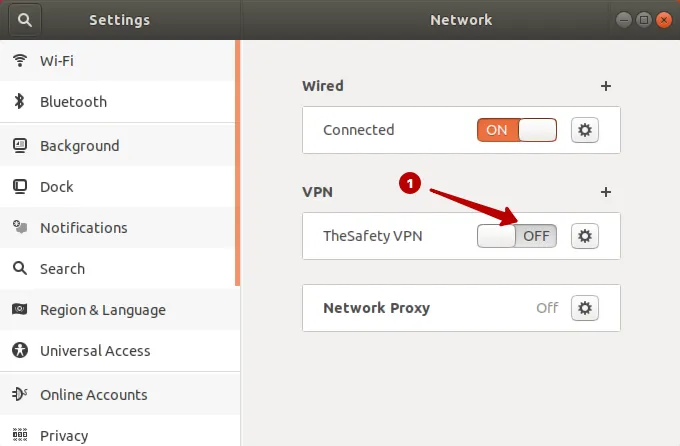
Connect to IKEv2 VPN on Ubuntu 17.
IKEv2 VPN connection established successfully.
You can also connect to the IKEv2 VPN via the top menu.
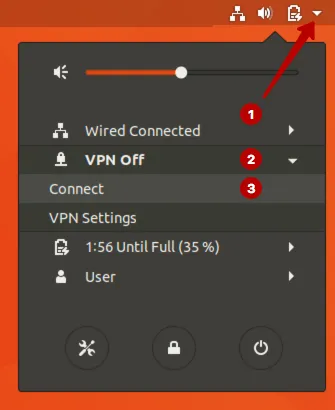
Disconnect from VPN network if necessary.